Bass Fishing Setup for Beginners Without Wasting Money
- Category
- Fishing Gear
- Date
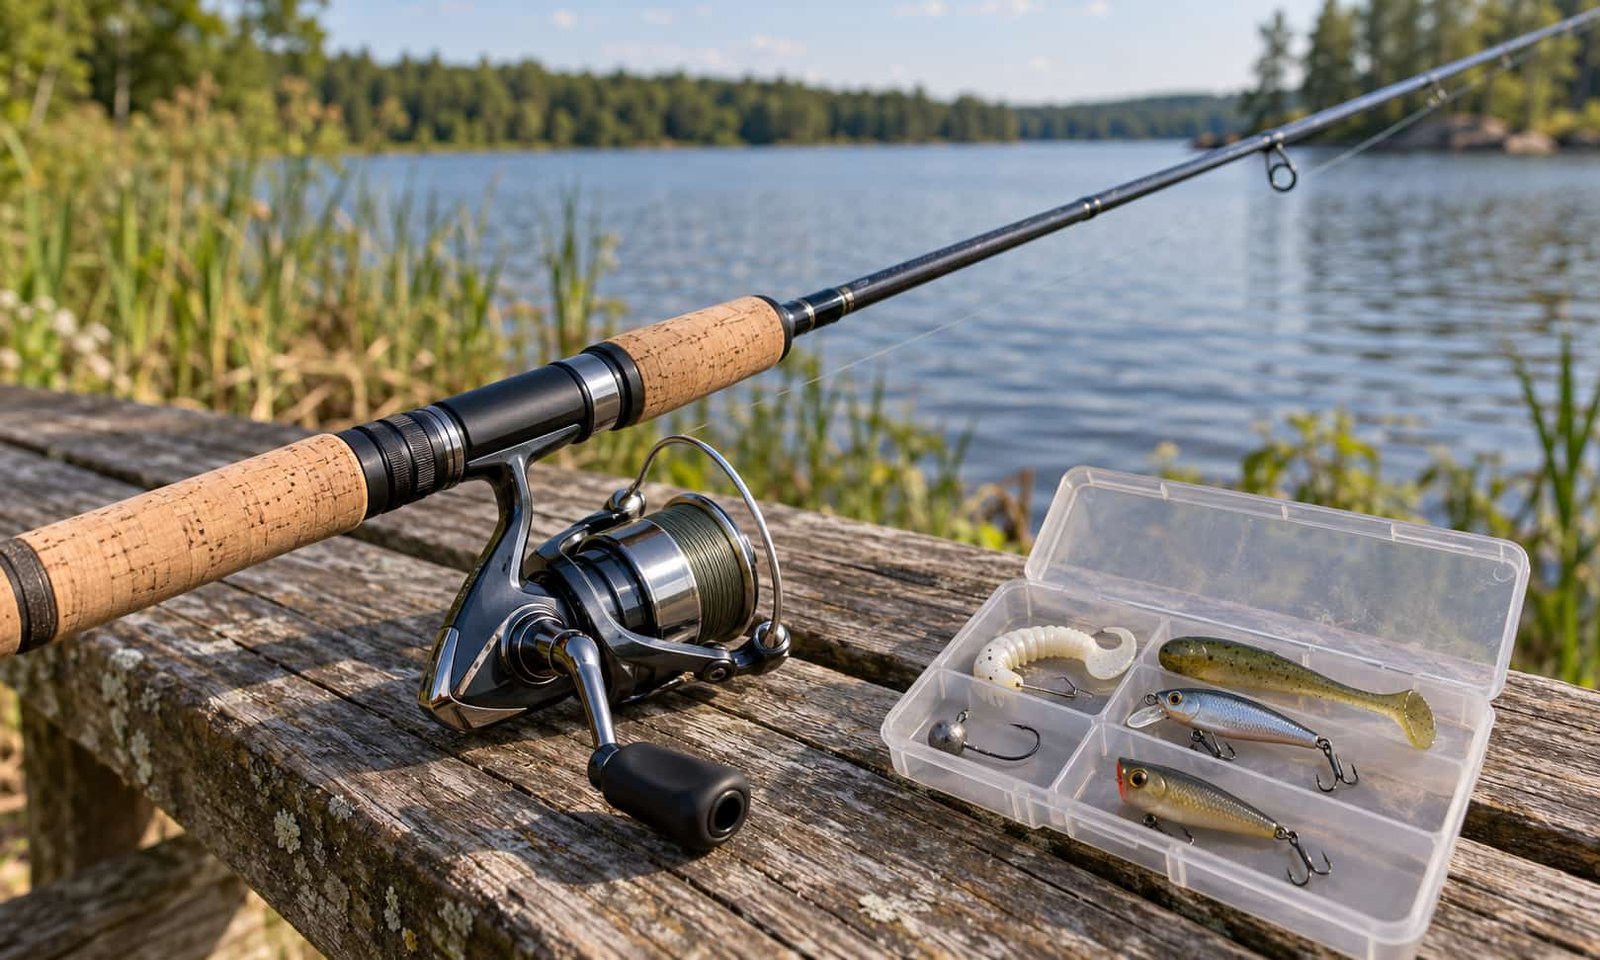
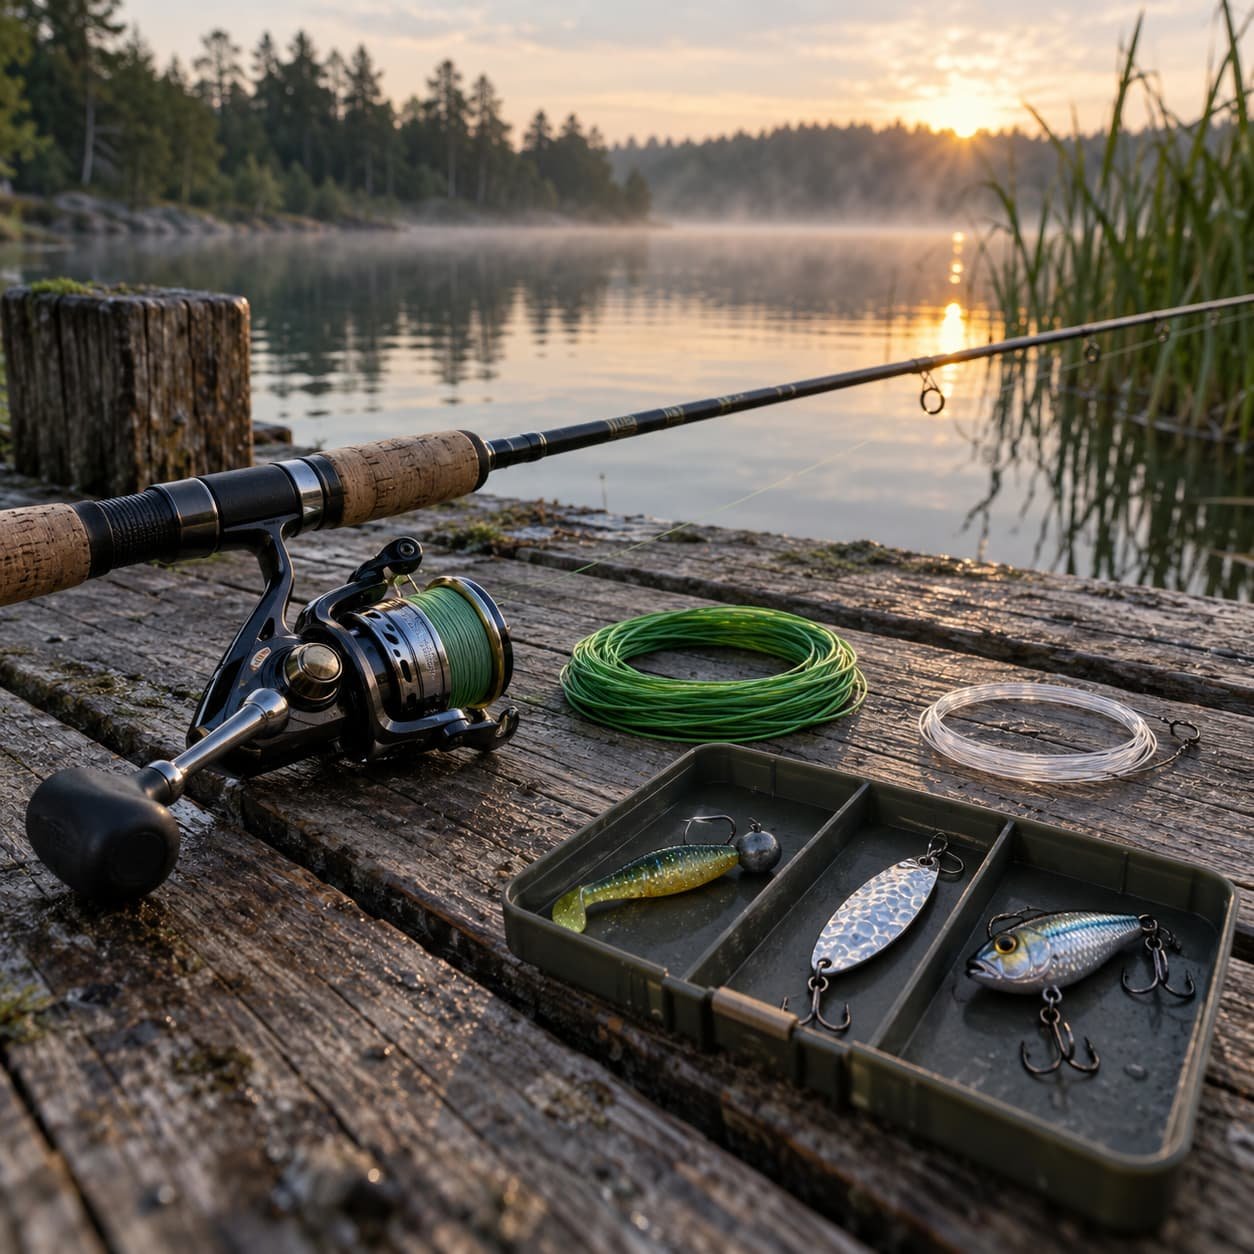
A practical bass fishing setup for beginners starts with a balanced rod and reel, braided main line, a fluorocarbon leader, and a small selection of proven lures. Learn how those pieces work together before adding more tackle. A strong knot, a controlled cast, and a steady retrieve will do more for you than an overloaded tackle box.
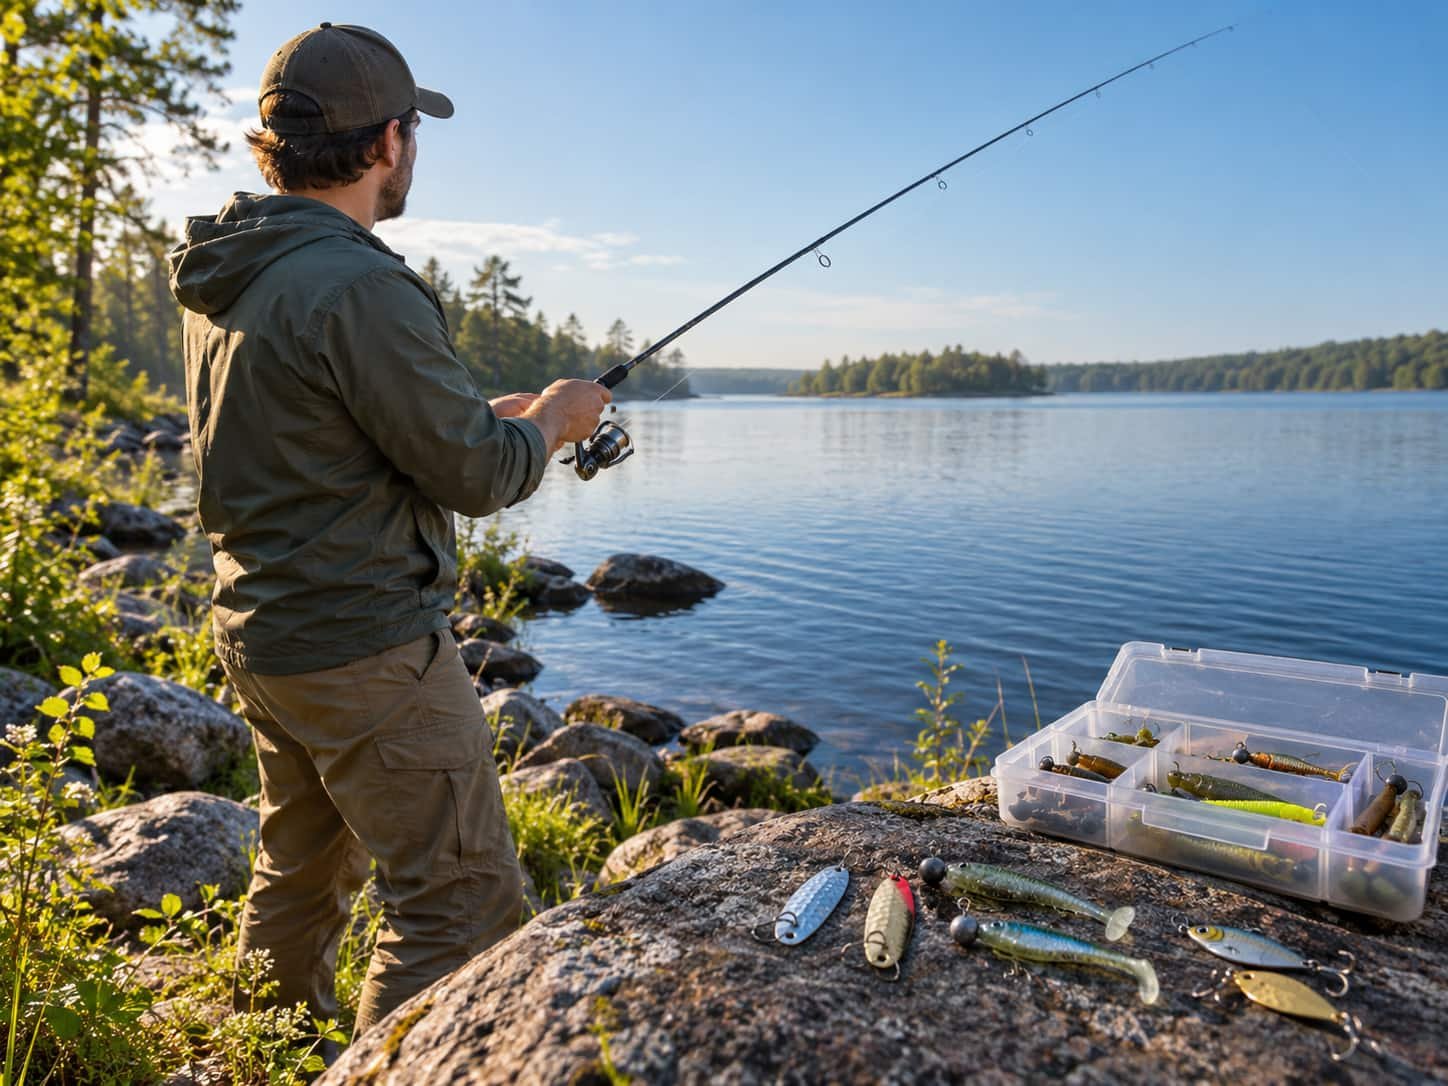
This guide focuses on freshwater bass fishing from shore on lakes, reservoirs, ponds, and moving water. Start with easy-to-read targets such as weed edges, shoreline rock, laydowns, and depth changes. Pick a specific spot for each cast, then work through your setup and presentation one step at a time.
What rod and reel should you use for bass?
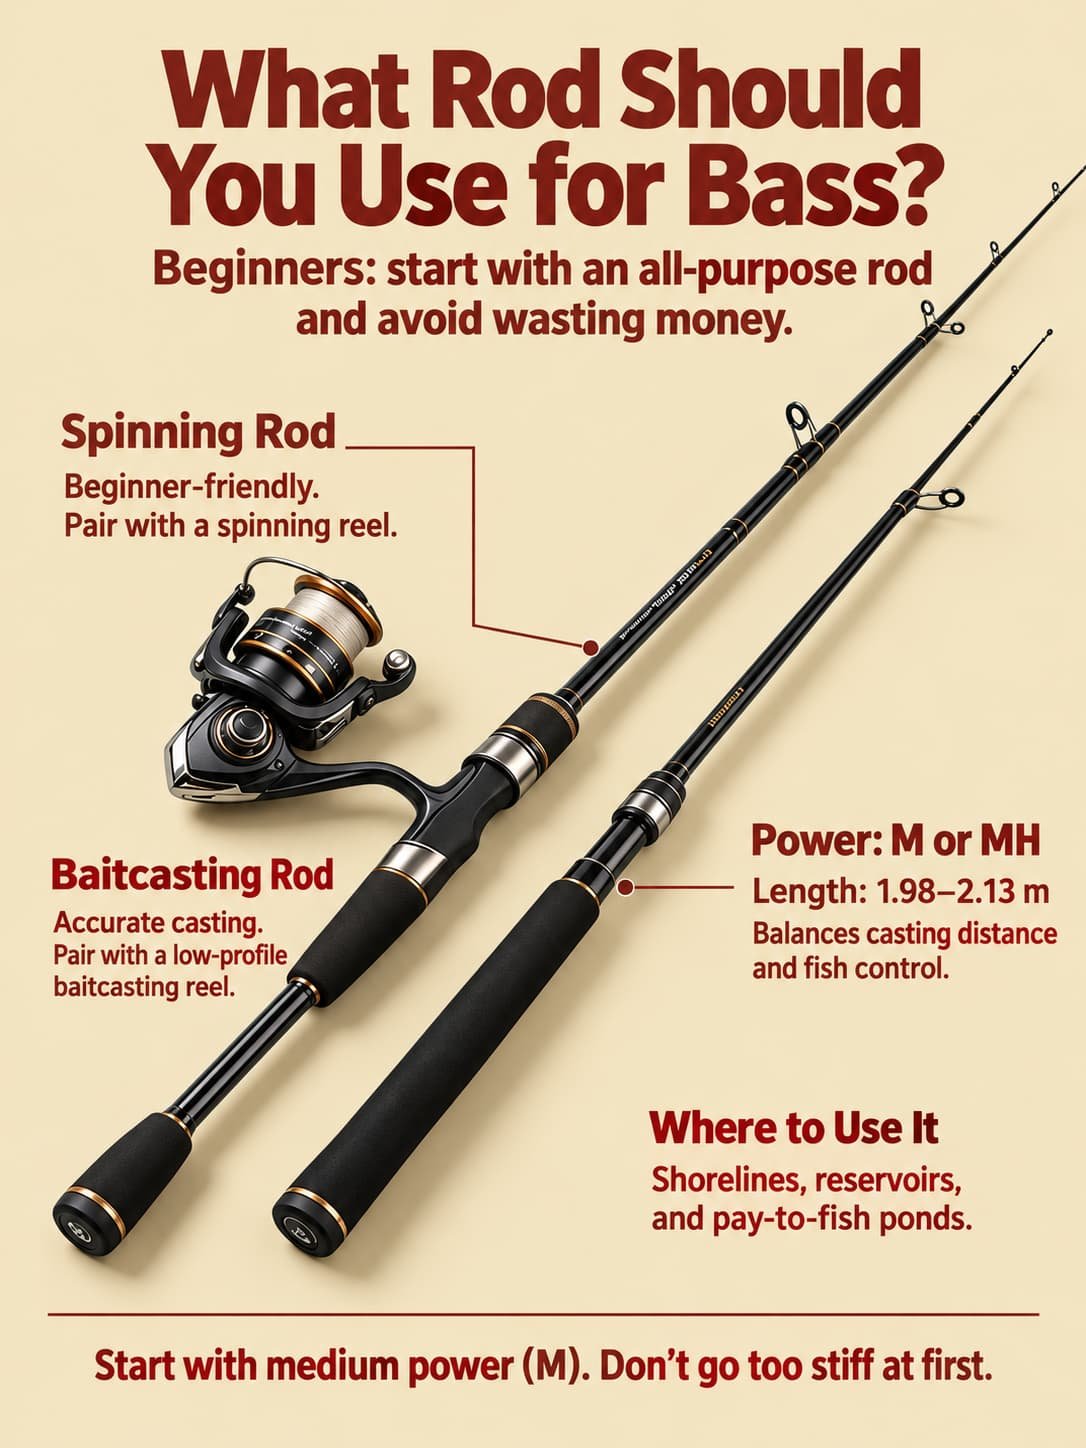
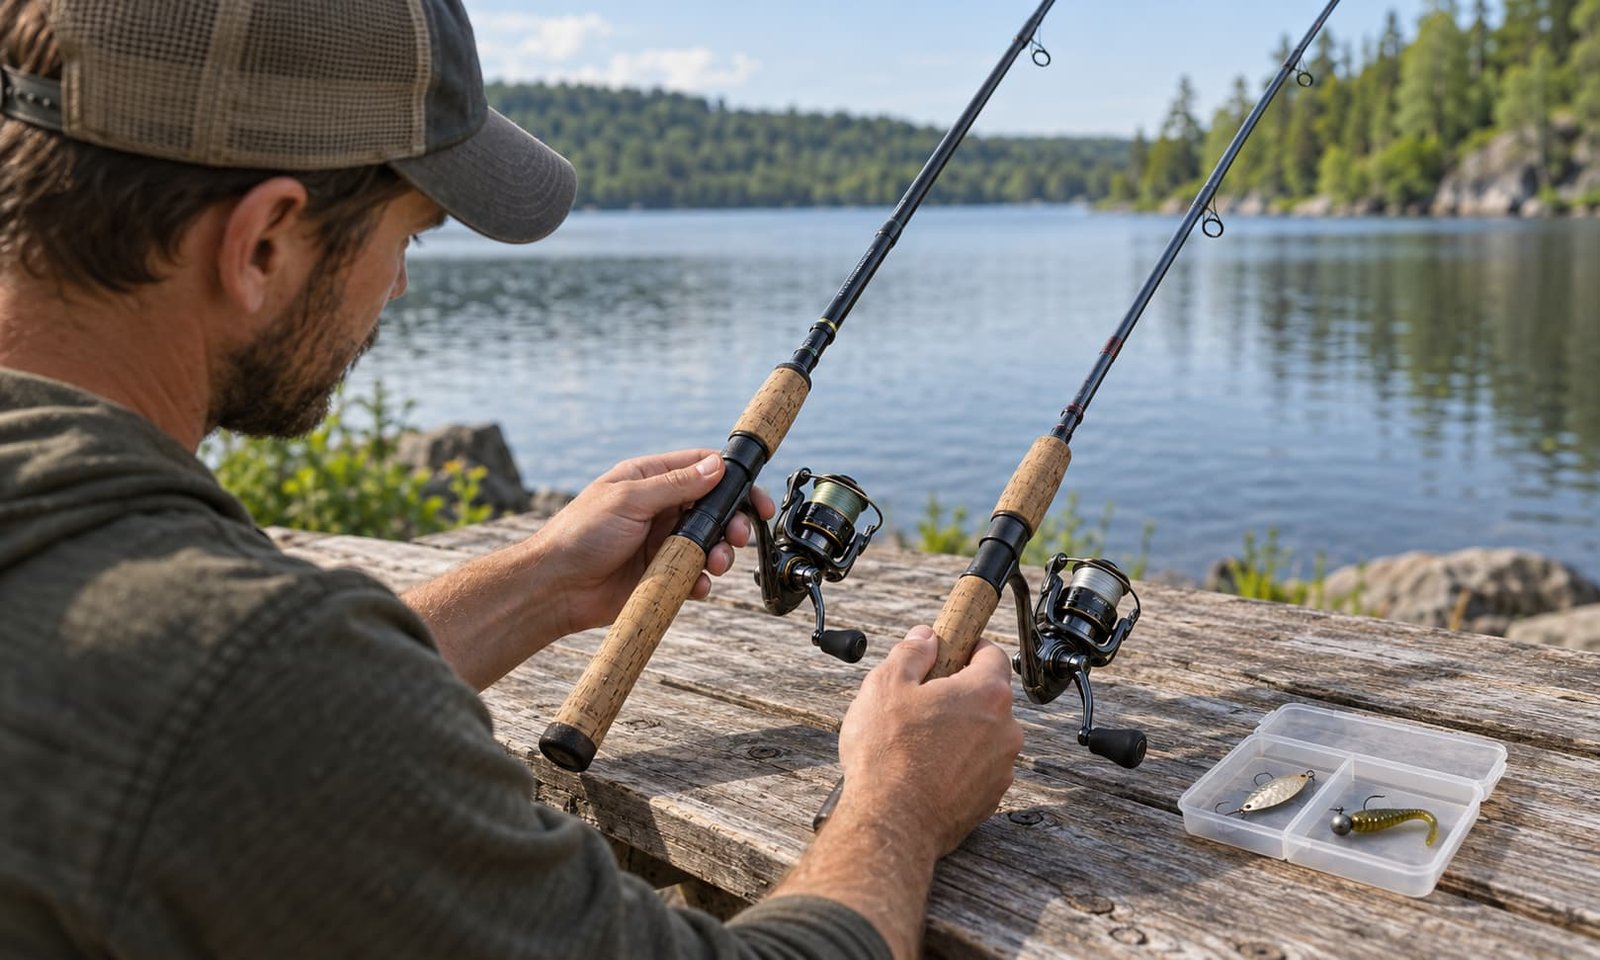
Start with an all-purpose rod that balances casting distance and fish control. A rod measuring 1.98–2.13 m, approximately 6 ft 6 in to 7 ft, provides the starting range. Choose medium power first, consider medium-heavy when appropriate for your tackle, and match a spinning or casting rod to the correct reel.
| Rod choice | Starting specification or pairing |
|---|---|
| Length | 1.98–2.13 m, approximately 6 ft 6 in to 7 ft |
| Medium power | M; the first option to consider for this beginner setup |
| Medium-heavy power | MH; an alternative when the rod’s line and lure ratings suit your tackle |
| Spinning rod | Pair with a spinning reel |
| Casting rod | Pair with a low-profile baitcasting reel |
Rod power describes the force needed to bend the rod. Medium and medium-heavy describe power. Rod action describes where the rod bends along the blank. Check both labels when shopping, because an M or MH marking does not tell you the rod’s action. St. Croix Rod
A rod’s printed line and lure ratings help you match the complete outfit. Use those ratings when comparing rods within the suggested length and power range. Choose the rod that suits the tackle you will actually cast.
Should you start with a spinning reel or a baitcaster?
A spinning outfit is the straightforward starting choice for a beginner learning to cast and retrieve lures. A baitcasting outfit offers controlled, accurate placement after practice. Match the reel to its intended rod type, and spend time learning one outfit before switching between different casting systems on the same trip.
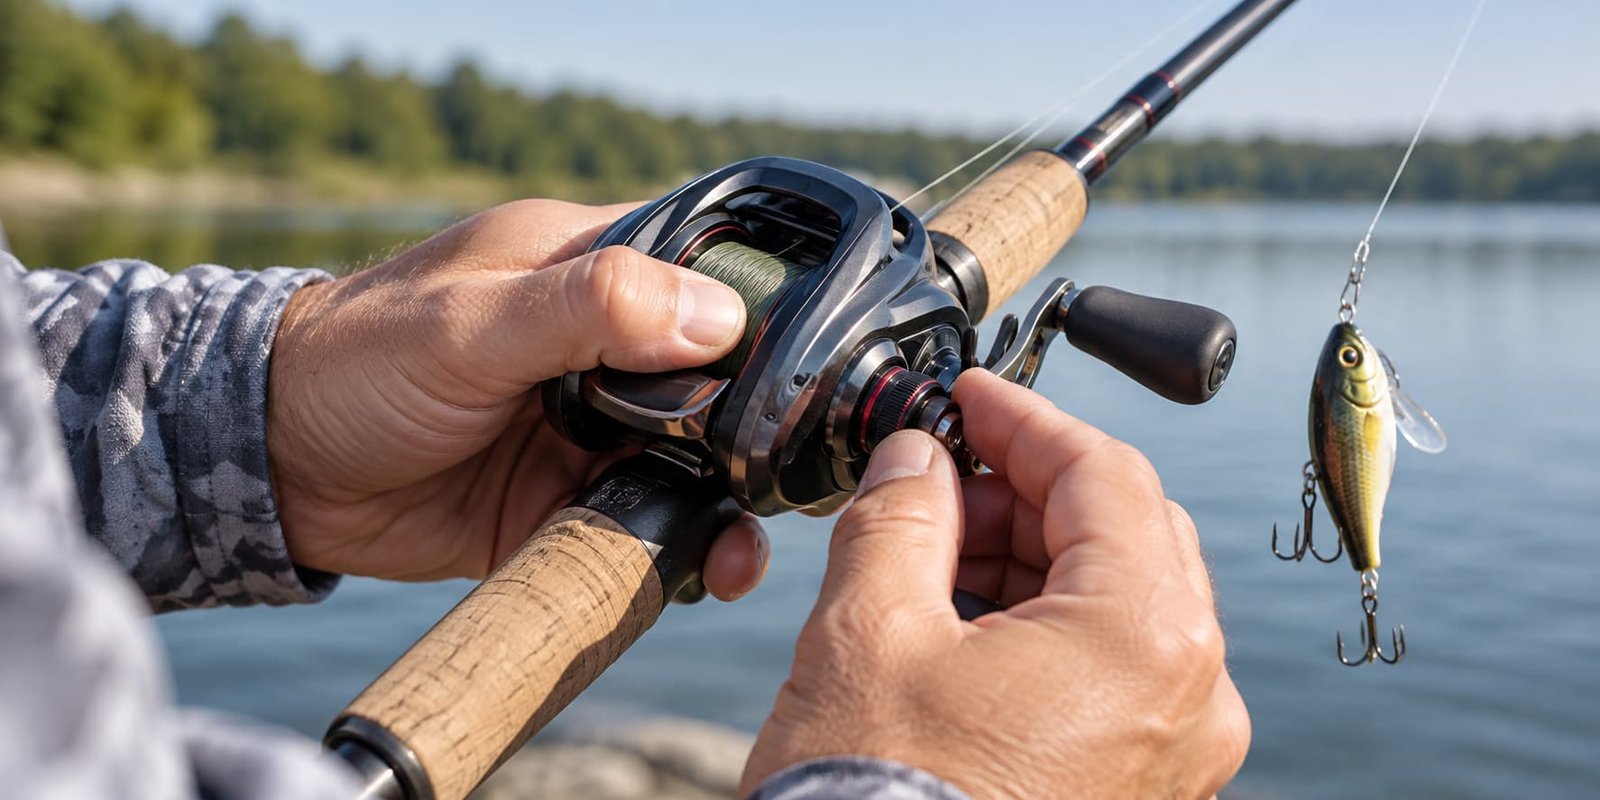
A spinning reel hangs below the rod and releases line from a fixed spool during the cast. A low-profile baitcaster sits above a casting rod and releases line from a rotating spool. Those different line-release systems explain why the two reels need different casting preparation.
What line and leader should you use for bass?
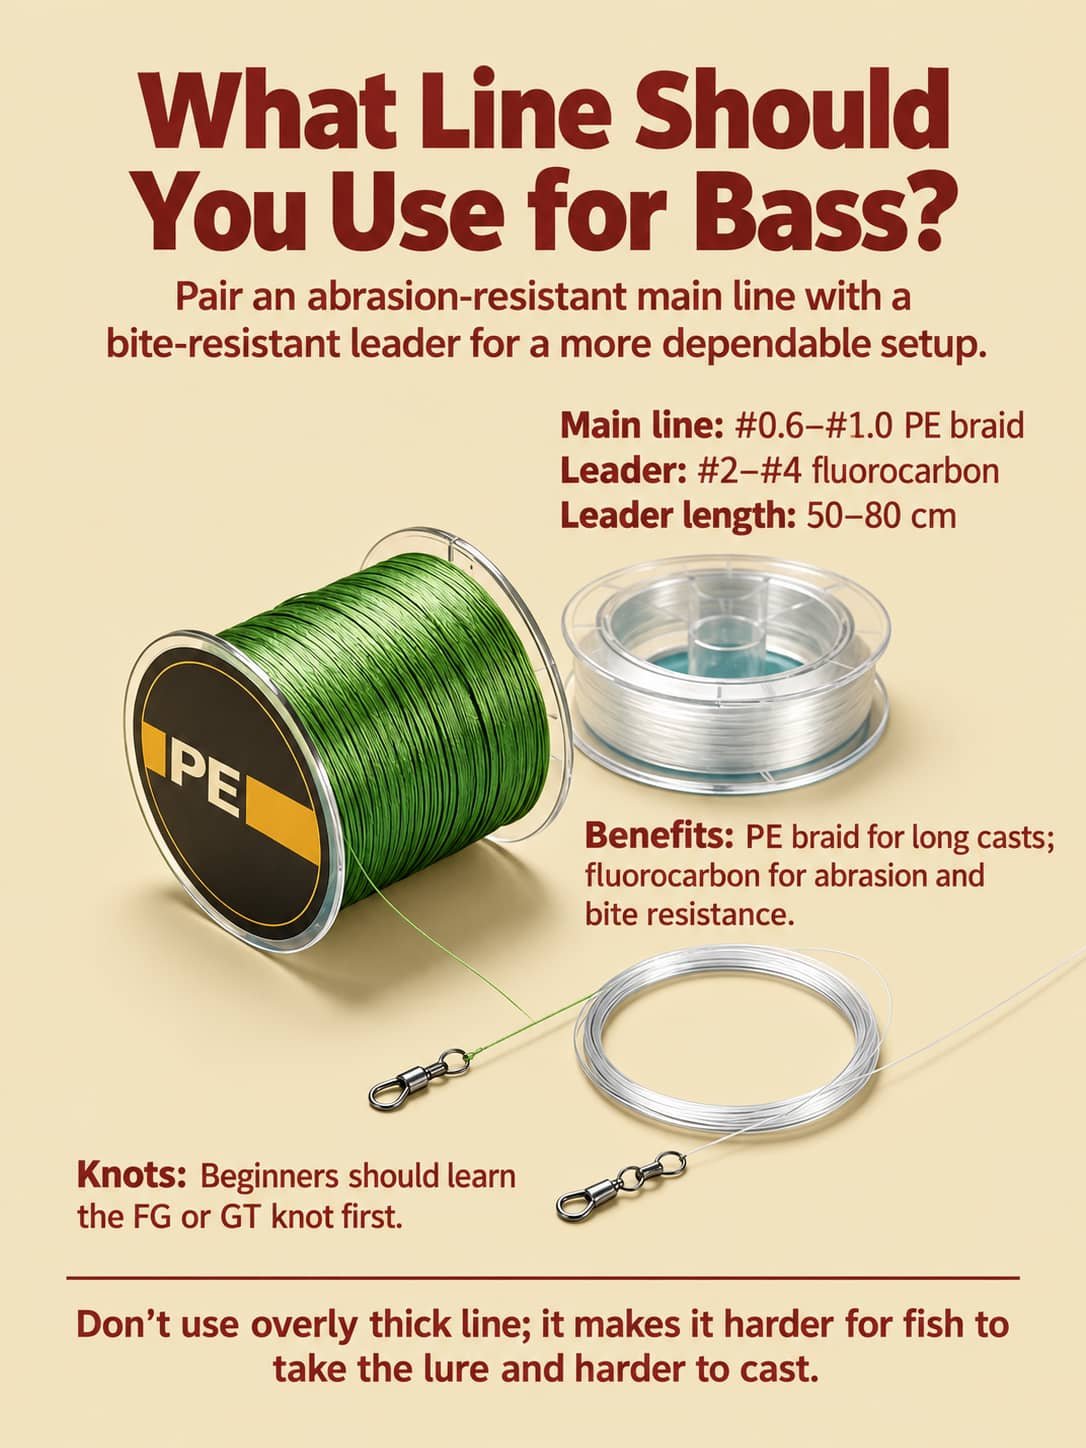
Use braided main line with a fluorocarbon leader for this starter setup. The specified sizes are PE #0.6–#1.0 for the braid and #2–#4 for the fluorocarbon, with a leader length of 50–80 cm. Keep the line manageable, and check the actual product specifications before matching the line to your rod.
| Line component | Starting specification | Role in the setup |
|---|---|---|
| Main line | PE #0.6–#1.0 braid | Carries line from the reel and supports casting |
| Leader | #2–#4 fluorocarbon | Provides the final section between braid and lure |
| Leader length | 50–80 cm | Defines the length of that final section |
The main line is the line spooled on the reel. PE means polyethylene, the material used in this braided line. The leader is a separate length of line tied between the braid and the lure.
The numbered line sizes are size designations, not pound-test ratings. A PE #1.0 label does not mean 1 lb test. Check the manufacturer’s listed diameter and breaking strength when buying line in North America or Europe rather than assigning a guessed pound-test equivalent. VARIVAS
A fluorocarbon leader provides abrasion resistance near the lure. Treat that resistance as protection against wear, not a promise that the leader cannot break or suffer tooth damage. An unnecessarily thick line can also make a light lure harder to cast and present naturally.
Which lures should beginners use for bass?
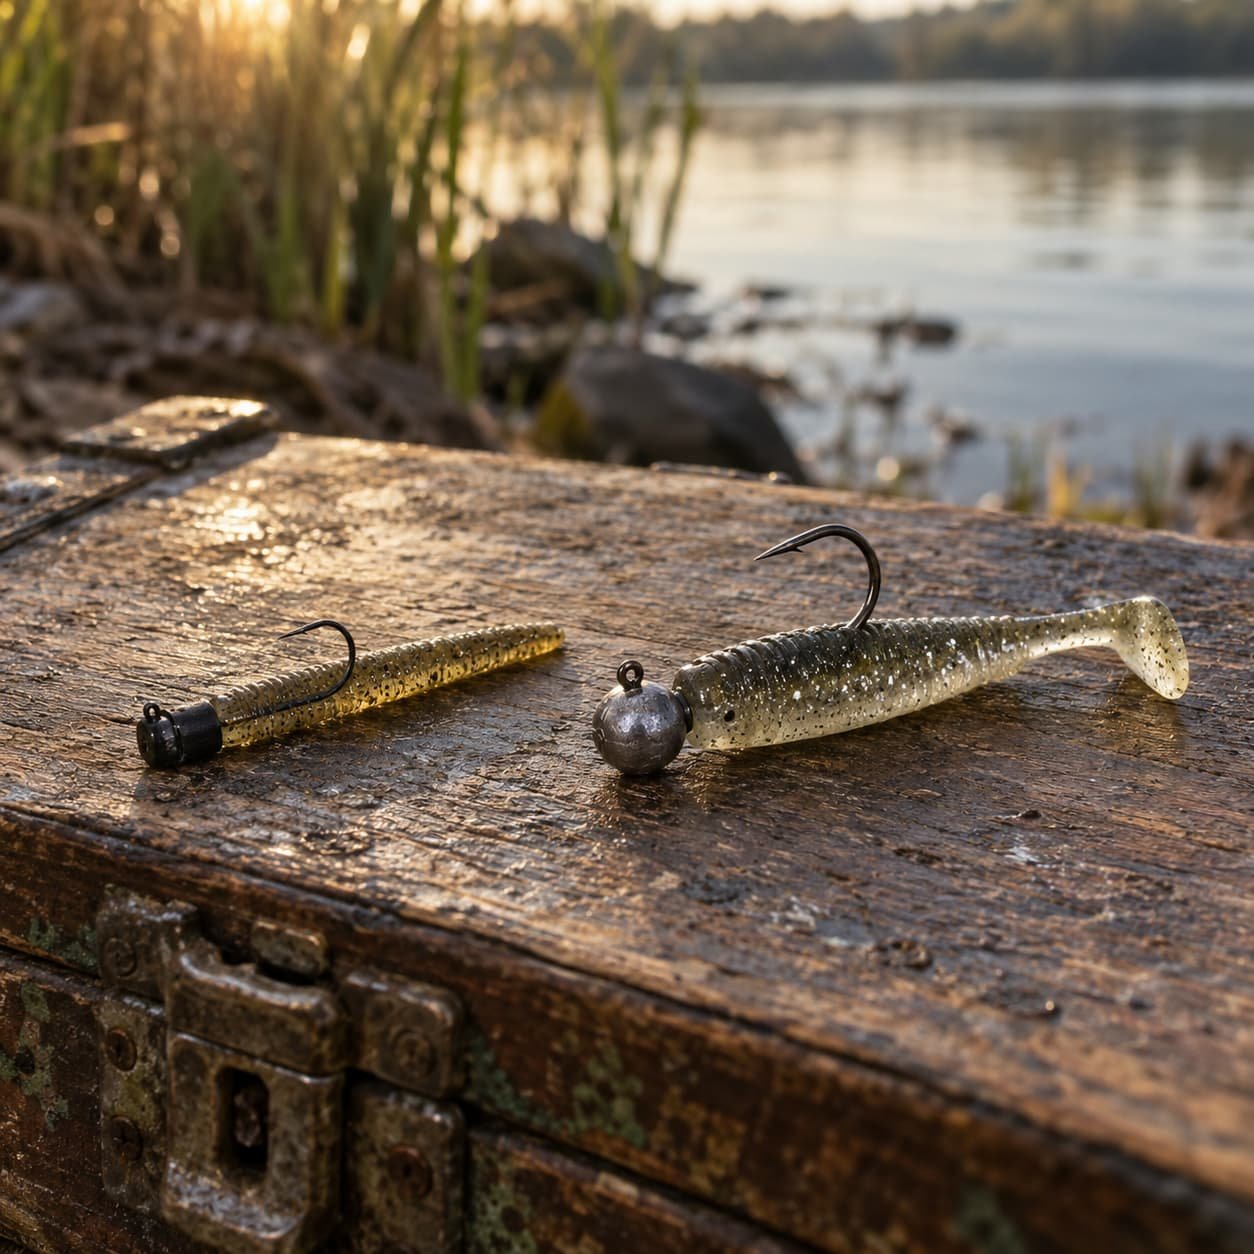
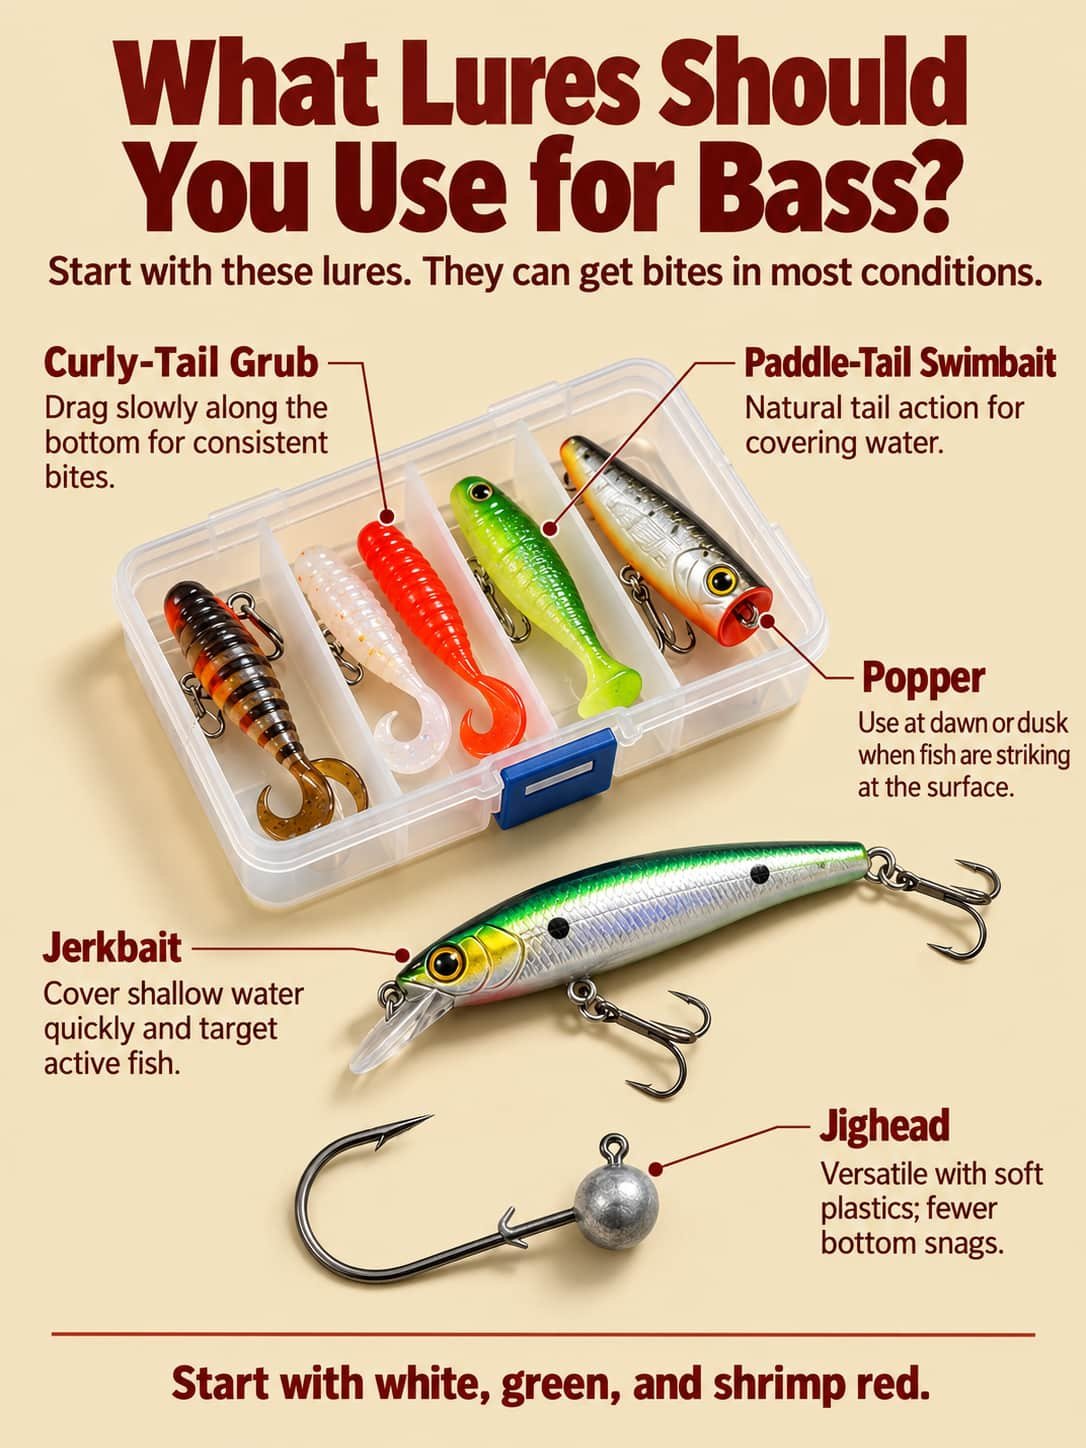
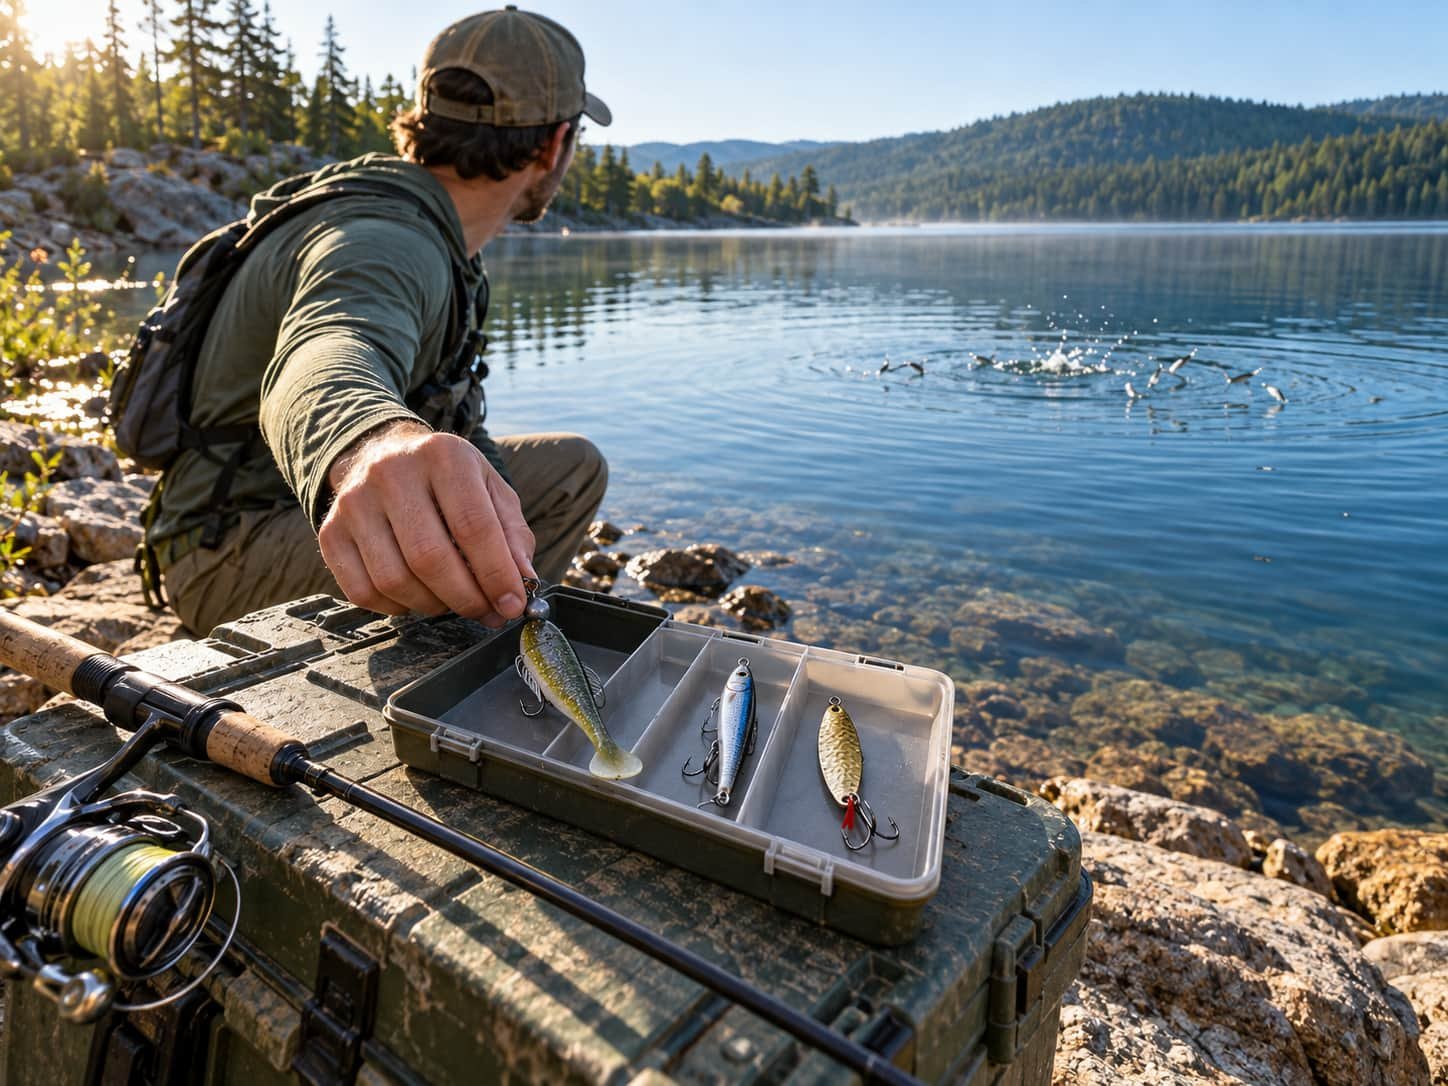
Begin with a curly-tail grub, a paddle-tail swimbait, a jerkbait, and a popper, plus jigheads for the soft plastics. Each option gives you a different presentation to learn. Work the grub near the bottom, use the swimbait or jerkbait to search, and choose the popper when bass feed at the surface.
| Lure or component | What the name means | Starting presentation |
|---|---|---|
| Curly-tail grub | A soft plastic with a curved, flexible tail | Drag slowly near the bottom |
| Paddle-tail swimbait | A soft plastic with a paddle-shaped tail | Use a controlled retrieve to cover water |
| Jerkbait | A hard lure worked with rod-tip movements and pauses | Search shallow water for active fish |
| Popper | A surface lure with a cupped face | Try at dawn or dusk when bass strike at the surface |
| Jighead | A weighted hook used with a soft plastic | Present the soft plastic near the bottom |
A jighead is a rigging component rather than a separate soft-plastic lure. Pair the weighted hook with a suitable grub or swimbait to make a fishable presentation. The weight carries the soft plastic down toward the depth you want to fish.
Bottom fishing still requires attention around rocks and weeds. A jighead does not make an exposed hook snag-free. Work the soft plastic with controlled movements instead of assuming the rig will pass through every obstruction.
White, green, and shrimp red provide the starting color choices. Learn how a few familiar lures move, so you can recognize the effect of a slower retrieve or a longer pause.
How do you tie braid to a fluorocarbon leader?
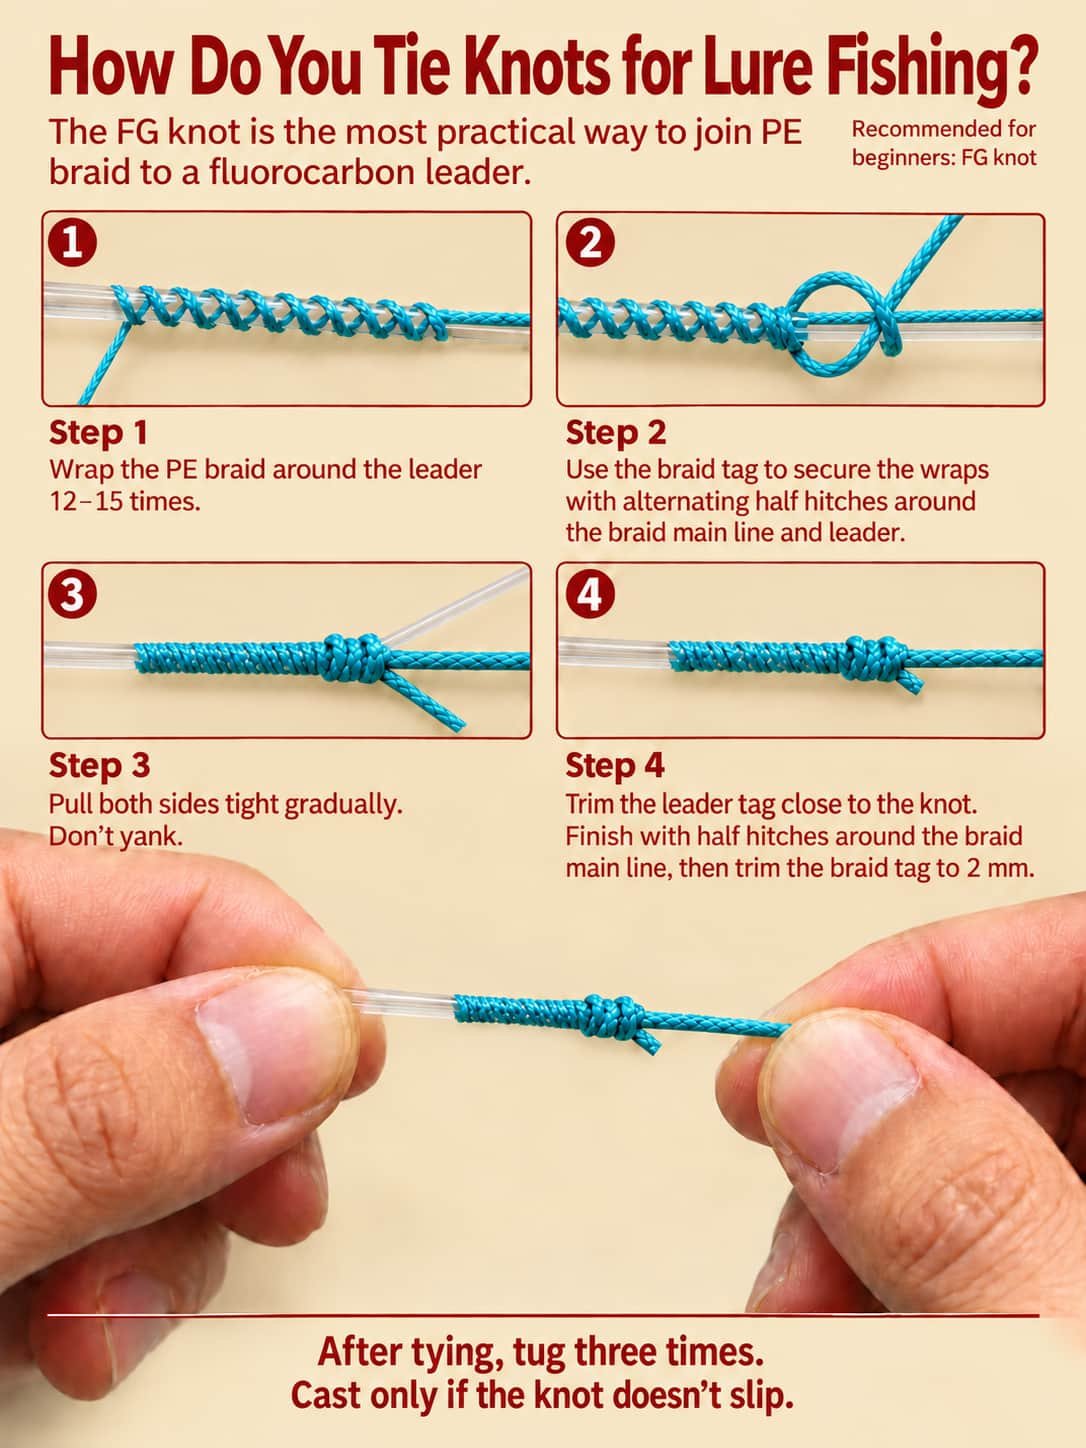
Use an FG knot to connect braided main line to a fluorocarbon leader. The braid forms alternating wraps around the leader, and half hitches secure the connection. Keep tension on the wraps, tighten the knot gradually, finish the tag ends carefully, and check for slipping before you make a cast. Daiwa US
The FG knot is a braid-to-leader connection. The standing line is the main length that remains in use, and the tag end is the short working end left after tying. A half hitch is a finishing knot that helps hold the wraps in place.
- Make the wraps. Weave the braid around the leader 12–15 times, alternating from opposite sides. Maintain tension so the wraps sit together rather than opening into loose loops.
- Secure the weave. Use the braid tag end to tie alternating half hitches around the braid standing line and the leader.
- Seat the knot. Pull the braid standing line and leader firmly and gradually until the wraps grip. Avoid a sudden yank that makes the tightening harder to control.
- Finish the ends. Trim the leader tag close to the knot. Add finishing half hitches around the braid standing line, then trim the braid tag to 2 mm.
Give the completed connection three firm tugs before casting. Watch for movement in the wraps or the leader tag. Retie the connection if the leader slips.
The GT knot is another braid-to-leader option. Practice one connection until checking and retying the leader feel familiar.
How do you cast without tangling the line?
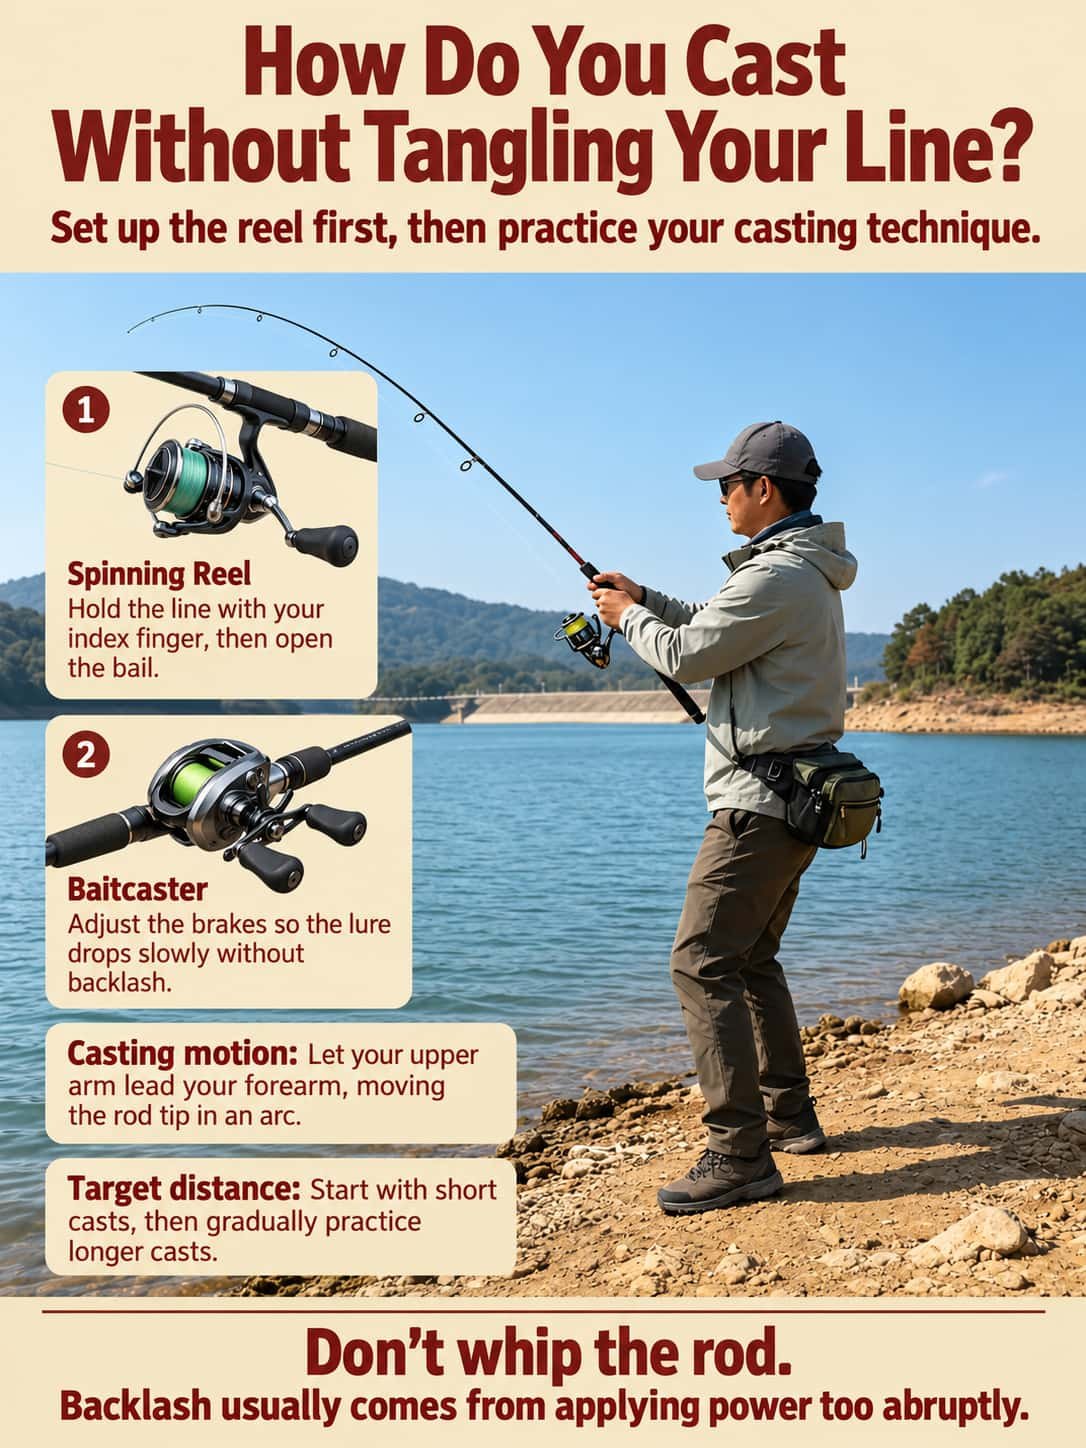
Prepare the reel before adding power to the cast. Hold the line with your index finger and open the bail on a spinning reel. Set a baitcaster for controlled spool release. Practice short casts with a smooth rod-tip arc, then extend the distance as your release becomes consistent and manageable.
A smooth casting motion starts with the upper arm leading the forearm. Let the rod tip travel through an arc instead of snapping the rod forward abruptly. Sudden force can make a baitcaster’s spool accelerate faster than the lure pulls line away.
How do you prepare a spinning reel for casting?
Hold the line against the rod with your index finger, then open the bail before starting a spinning-reel cast. Release the line as the rod moves toward the target. Let the lure land, close the bail, and take up loose line before beginning the retrieve with steady, controlled turns. Zebco Fishing
The bail is the curved wire arm around a spinning reel’s spool. Opening the bail allows line to leave the spool. Holding the line first keeps the lure under control while you prepare the cast.
Short casts let you practice the release without chasing distance. Aim for a reachable shoreline target and repeat a smooth motion. Extend the cast only after the lure consistently lands near the intended spot.
How do you prepare a baitcaster to reduce backlash?
Start with the baitcaster set for control, check that the lure drops slowly without loose loops, and use the brakes to manage spool speed during casting. Keep light thumb control on the spool. Build distance gradually with smooth casts rather than trying to reach the far bank immediately.
Backlash happens when the spool releases line faster than the lure pulls line away. The excess line forms loose loops that can develop into a tangle. The brakes help regulate the rotating spool during the cast; your thumb adds direct control.
A slow lure-drop check and a short practice cast give you separate opportunities to check reel control. Follow the reel’s adjustment instructions if the lure falls too quickly or the spool overruns. Different baitcasters use different controls, so avoid assuming one brake setting suits every reel.
How should you retrieve a bass lure?
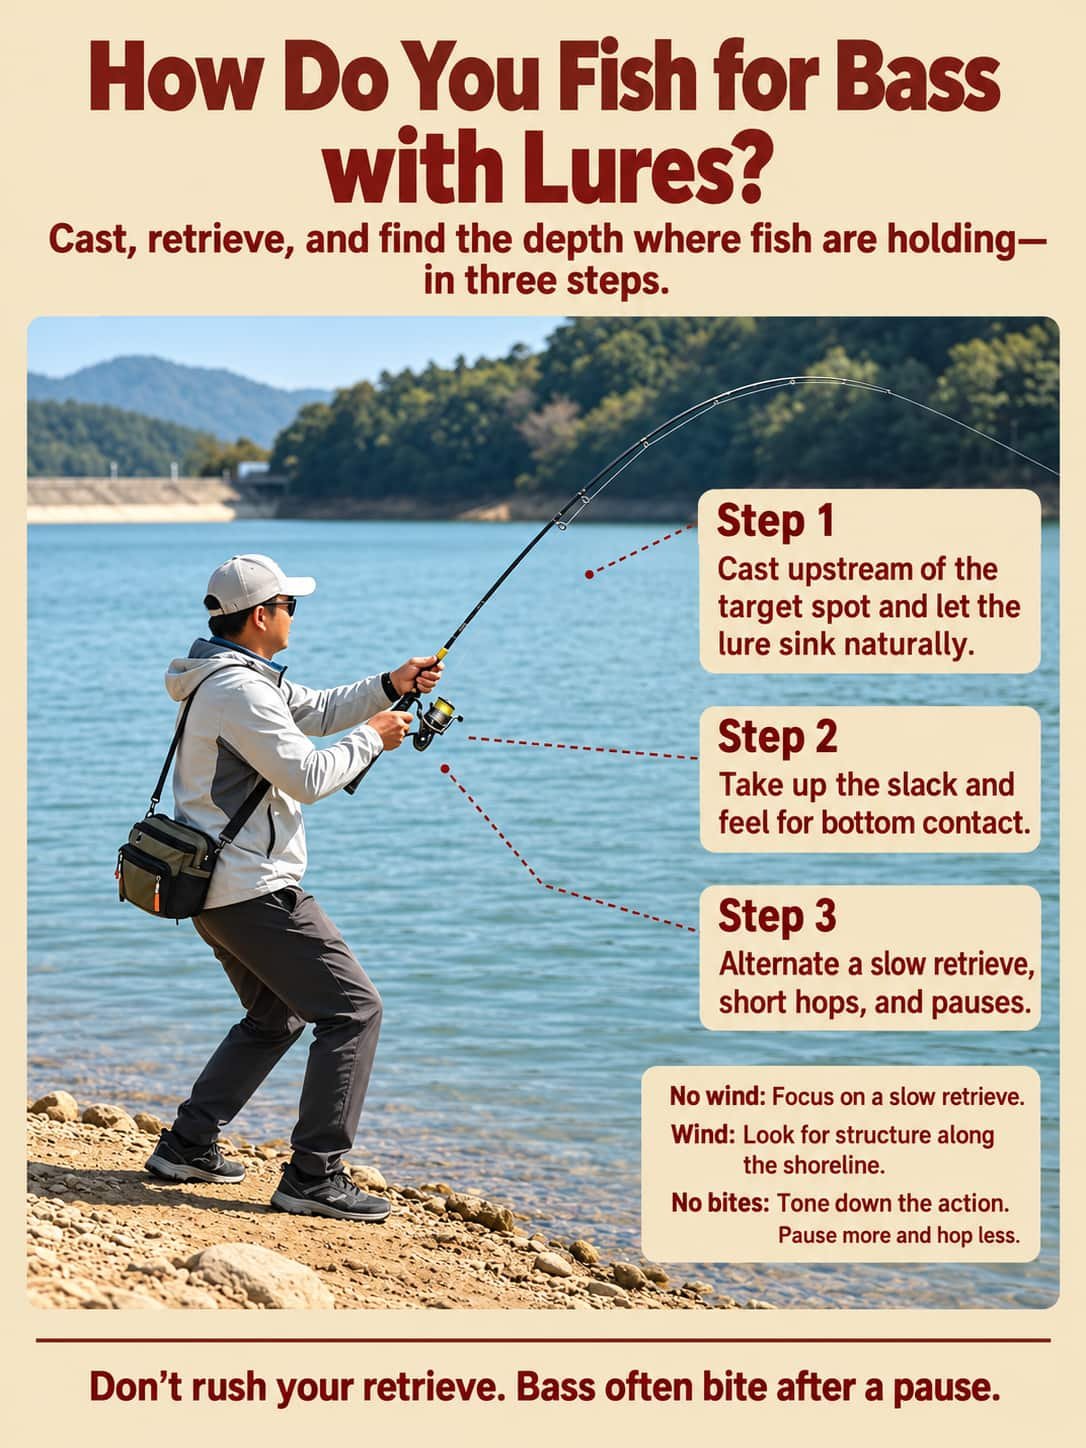
For a bottom-fished soft plastic, cast toward the target, let the lure sink, and take up slack until you can feel the lure. Alternate a slow retrieve, short hops, and pauses. In moving water, cast upstream of the target so the lure can sink naturally as the current carries the presentation.
A retrieve is the way you bring the lure back after casting. A slow retrieve uses steady reel turns. A hop uses a short rod-tip lift. A pause stops the forward retrieve and lets the lure fall or settle, depending on the lure and rig.
- Place the cast. Aim at a specific target rather than a general stretch of water. In current, place the lure upstream of the target and allow a natural sink.
- Take up slack. Reel in loose line until you can detect the lure’s weight or bottom contact. Keep enough contact to follow the presentation.
- Vary the movement. Combine slow reel turns, short hops, and pauses. When bass do not respond, reduce the action and allow more pauses.
Calm conditions give you a chance to concentrate on a slow, controlled retrieve. When wind picks up, look for shoreline structure and keep a clear target for each cast. Place the lure beside a defined feature instead of casting across an undifferentiated stretch of water.
A popper needs a surface presentation rather than the bottom sequence. Keep the popper on top and use the cupped face to disturb the surface. Try the surface lure at dawn or dusk when bass show interest in prey above them.
A pause deserves the same attention as a moving lure. Bass can strike after the retrieve stops, so resist the urge to hurry every lure back to shore. Keep contact with the presentation while giving the fish time to respond.
What should you change when bass aren’t biting?
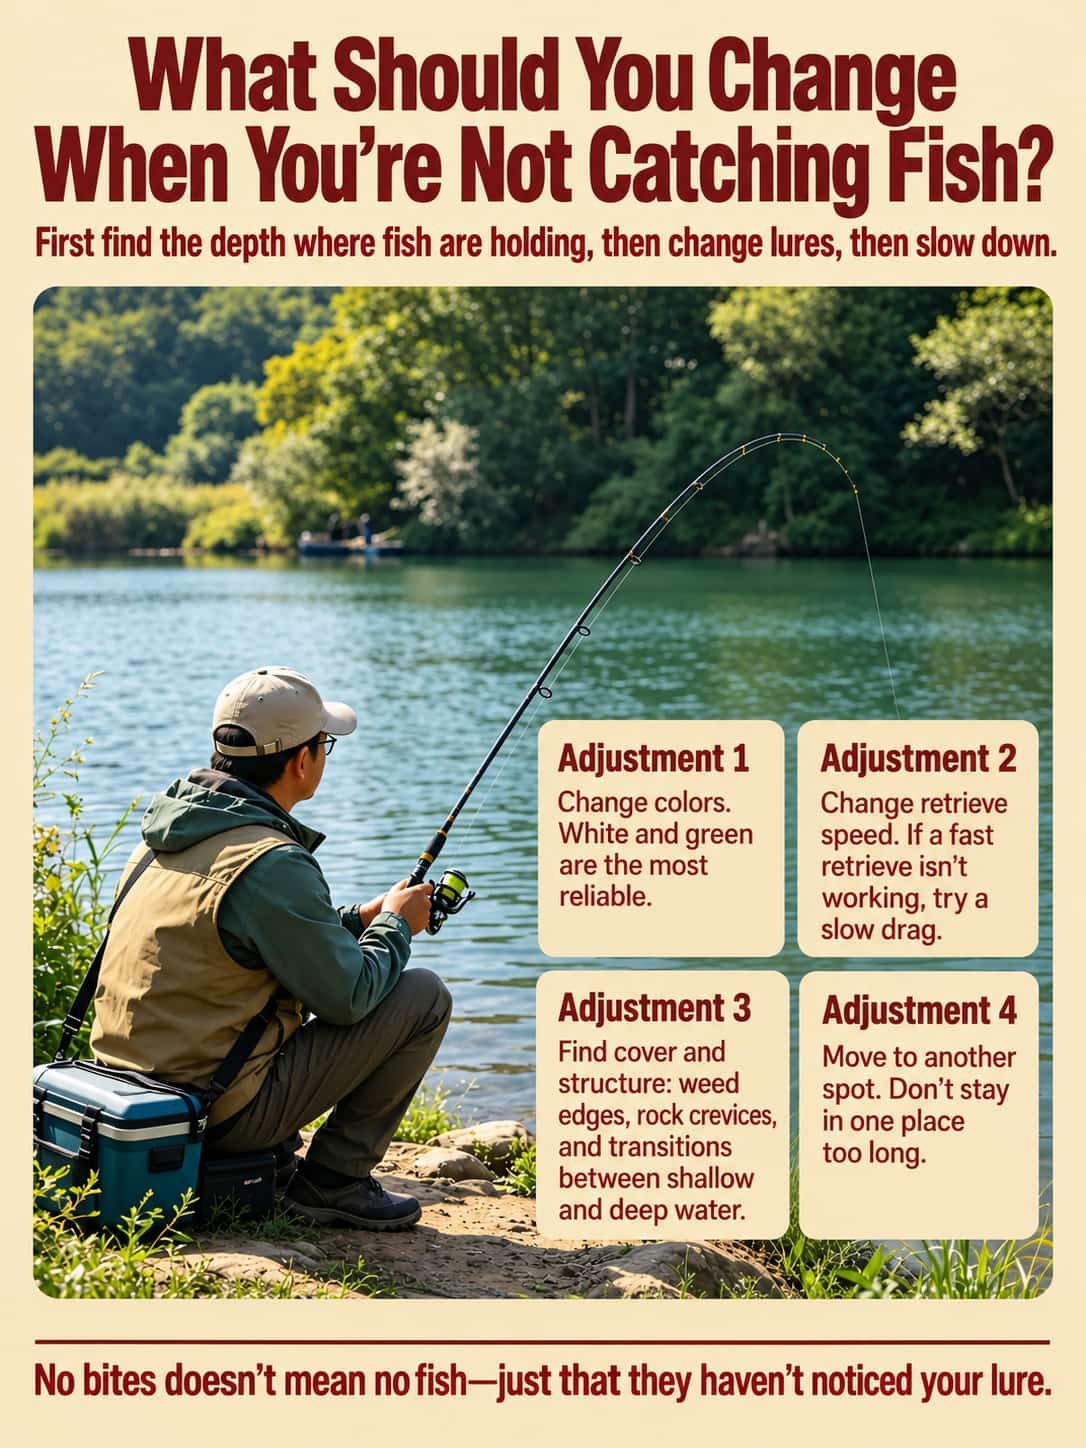
First locate the depth where bass may be holding, then check your lure and retrieve. Work through color, speed, nearby cover and structure, and location. Change one part of the presentation at a time so you can recognize the effect. A quiet stretch deserves an adjustment rather than endless identical casts.
- Change the color. Start by comparing white and green. Keep the lure type and retrieve familiar so the color change remains the main difference.
- Change the speed. Replace a fast retrieve with a slower drag when working a bottom-fished soft plastic. Reduce hopping and add pauses instead of making the lure more frantic.
- Find cover and structure. Look along weed edges, around openings between rocks, and where shallow water meets deeper water.
- Move to another spot. Leave an unproductive location after working through the presentation. Avoid spending the whole session repeating the same cast from the same position.
Cover gives fish something to shelter beside or within. Weeds are cover. Structure describes the shape and features of the waterbody, including depth changes and rocky bottom contours. Those distinctions help you choose a target rather than treating the whole shoreline as one fishing spot.
A weed edge provides a practical place to apply the sequence. Choose a clear target beside the vegetation, present a familiar soft plastic, and slow the retrieve if the first presentation gets no response. Compare a white lure with a green version before moving to the next reachable target.
No bites leave several possibilities open. Bass may hold at another depth, ignore the presentation, or occupy a different spot. Use the next cast to test a different depth, retrieve, or target rather than changing the whole outfit.
More to Explore
Related Articles
More guides in Fishing Gear
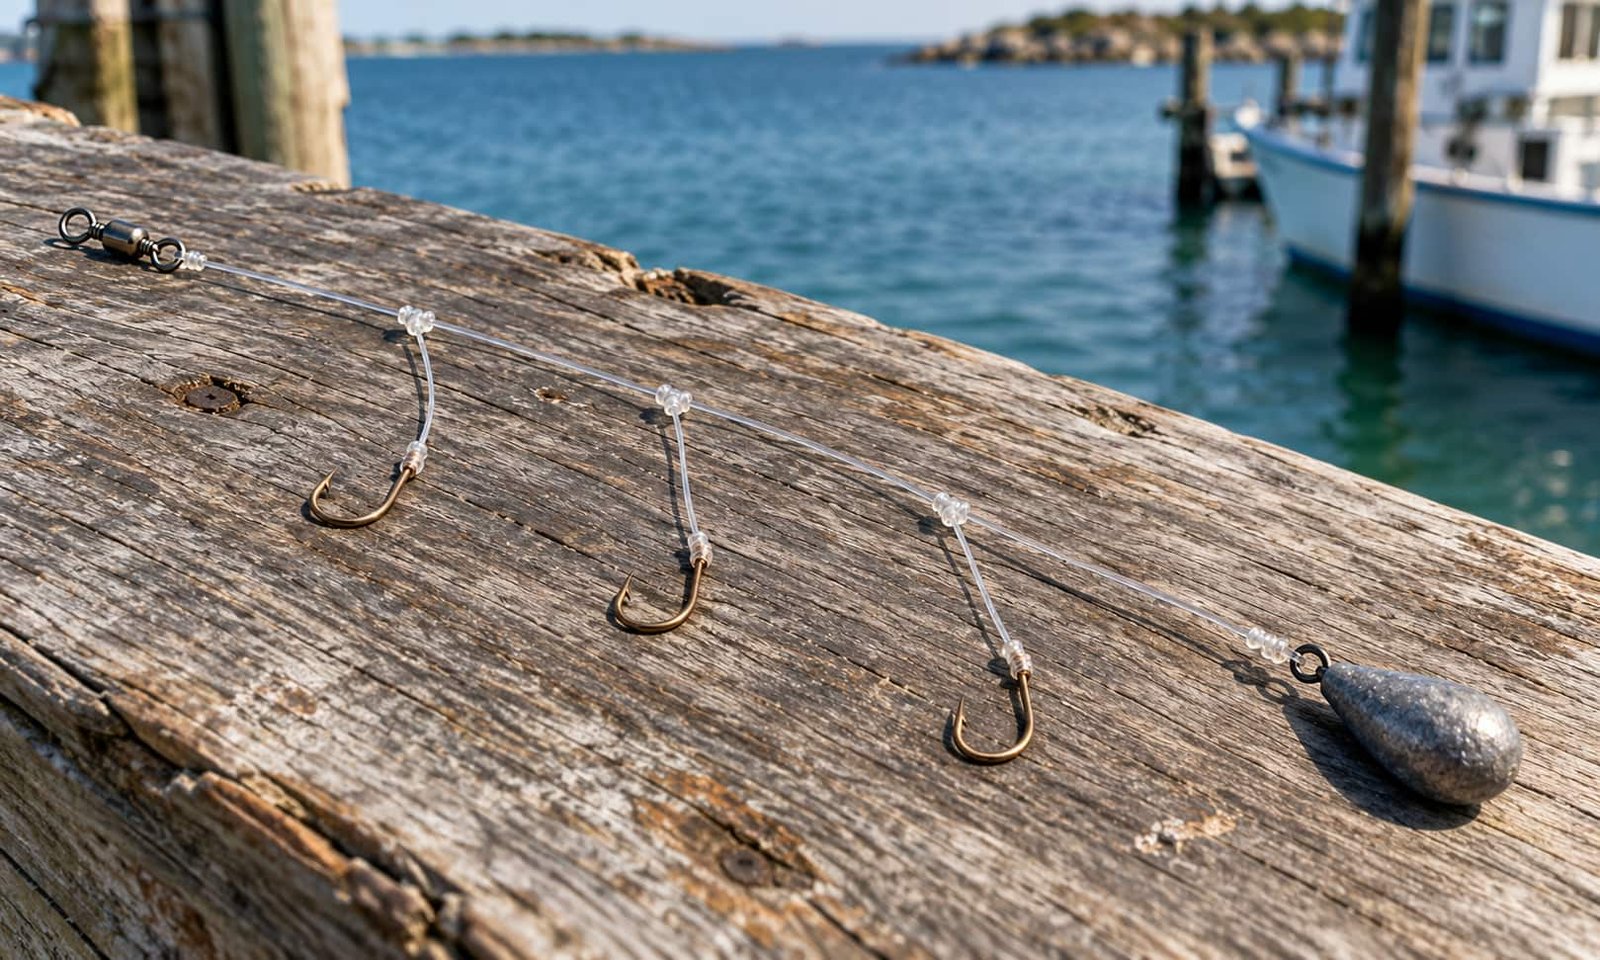
Take a closer look at 6 saltwater fishing rigs, from shore setups to boat rigs, with diagrams that show how the lines, hooks, and sinkers connect.
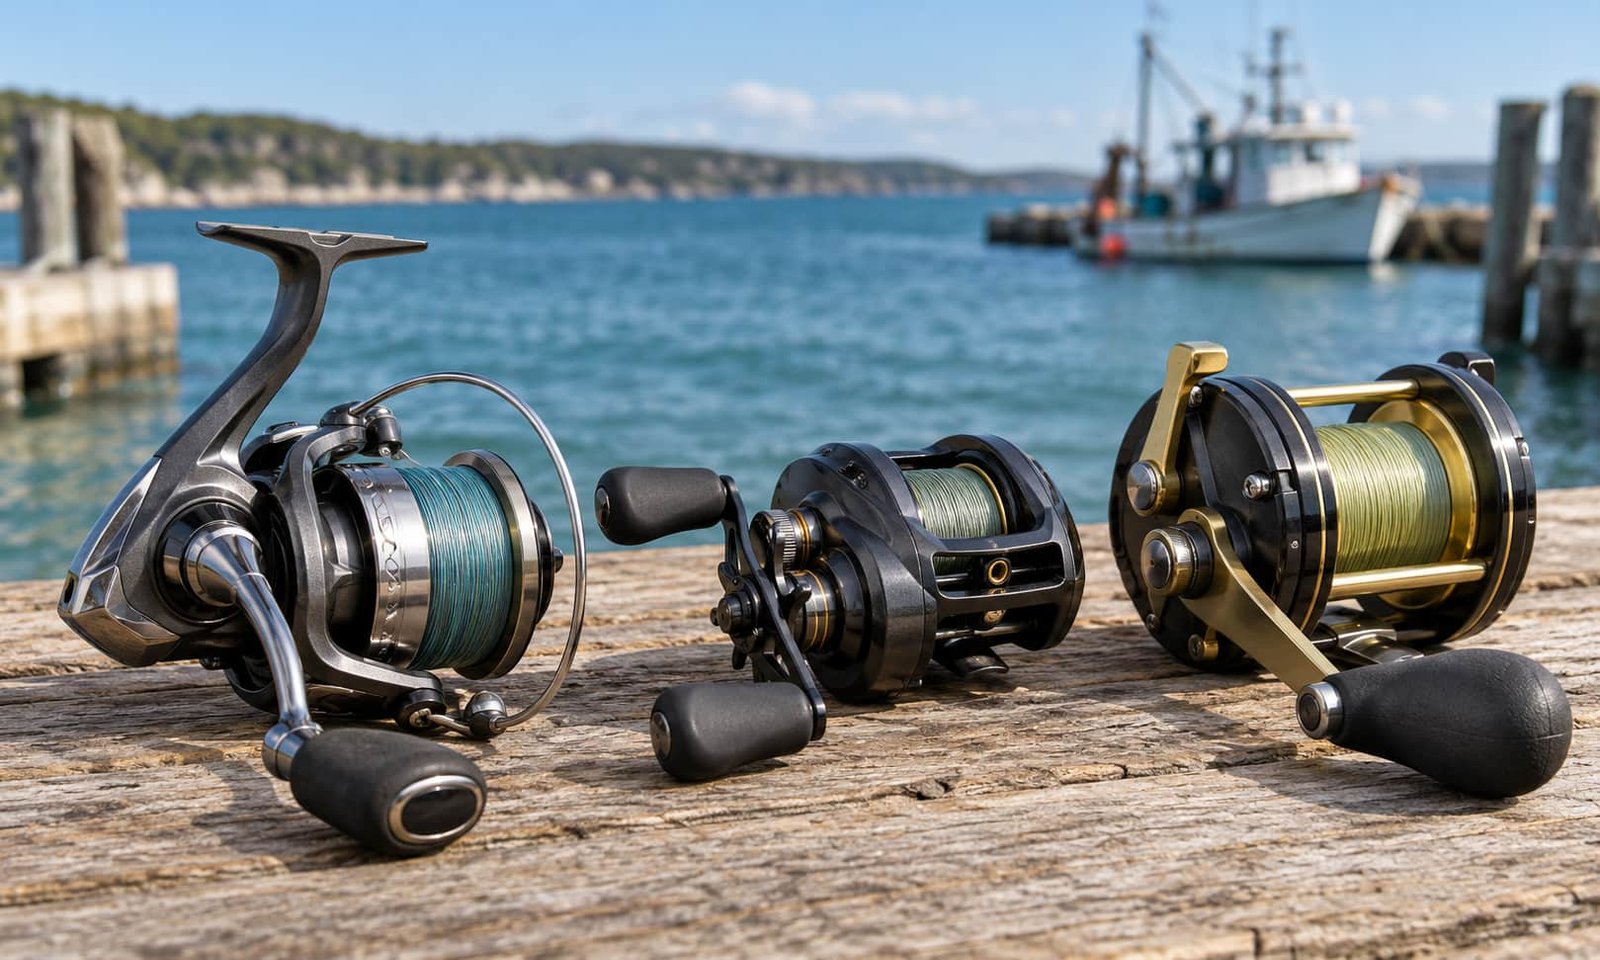
Learn how to choose a saltwater fishing reel for shore or boat fishing by comparing reel type, drag performance, and line capacity before you buy.
Learn how to choose a lure fishing rod by length, power, action, and lure weight. Find a practical starting setup before buying your first rod.
Learn how to adjust baitcaster brakes for better spool control, smoother casts, and fewer backlashes before you start pushing for more distance.
Not sure which rod to buy? Explore lure fishing gear for beginners, from rod length and power to reels, line, lures, and accessories.
Unsure what gear to buy first? This lure fishing setup for beginners guide covers spinning rods, reels, braid, fluorocarbon leaders, and lure weights.
Skip the crowded tackle bag. See which rod, reel, fishing line, and starter lures help you learn faster on the water.
Not sure which rig to tie on? See the difference between jig head and Ned hook before choosing your next soft bait setup.